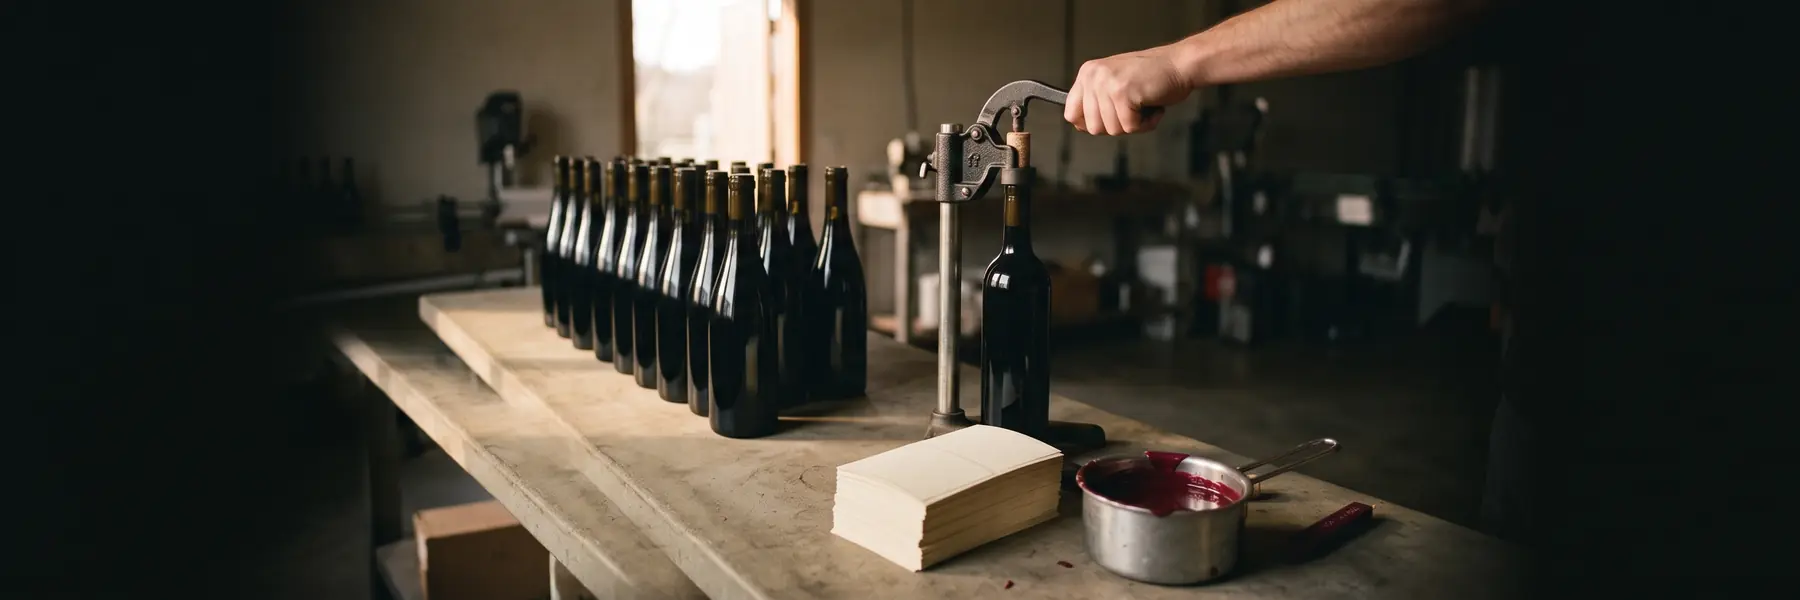
Bottling Day: A Complete Step-by-Step Guide
Bottling Day: A Complete Step-by-Step Guide
Bottling day should be one of the most satisfying moments in your winemaking year — the moment months of careful work becomes a tangible product. Done correctly, it takes 2–4 hours per 20-litre batch. Done incorrectly, it can ruin wine that's been excellent in the demijohn. Here's how to do it right.
Is Your Wine Ready to Bottle?
Before even thinking about bottles, confirm these conditions:
1. Fermentation is complete
Two gravity readings 48 hours apart showing no change, at or below 1.000 (for dry wine). Non-negotiable — bottling an actively fermenting wine will over-carbonate and potentially break the bottles.
2. MLF is complete (if attempted)
Confirmed by paper chromatography or enzyme test kit. A wine with incomplete MLF will finish MLF in bottle — producing CO₂, off-flavours, and instability.
3. Wine is clear
Good clarity reduces the sediment in bottle. A brilliant wine looks more professional and has had sufficient settling time. Fine lees in bottle aren't necessarily a problem (natural for some styles) but it should be a choice, not an oversight.
4. Protein stability confirmed (for whites)
Heat test: heat 10mL of wine to 80°C for 30 minutes, then cool. If a haze forms, bentonite fining is needed before bottling. Protein-unstable white wine will develop a haze in the bottle during storage.
5. Tartrate stability (for cold-climate wines)
White wines stored cold can form tartrate crystals in bottle if not cold-stabilised. Options:
- Cold stabilise: chill to 0–4°C for 2–4 weeks before bottling
- Add metatartaric acid (delays crystallisation — temporary)
- CMC (carboxymethylcellulose) for long-term tartrate inhibition
6. Free SO₂ at correct level
Check and adjust to your target for the wine's pH (see the SO₂ article for target tables). This is the last time you can adjust SO₂ before the wine is sealed.
Equipment Checklist
| Item | Notes |
|---|---|
| Sanitised wine bottles | 750mL (standard) or 375mL half-bottles |
| Corks or screw caps | Corks: grade 1 or 2 for still wine; screw caps for early-drinking wines |
| Hand corker or bench corker | Bench corker is much easier for more than 12 bottles |
| Bottle filler (racking wand with auto-stop tip) | Fills from the bottom, eliminates oxygen exposure |
| Auto-siphon | For moving wine from vessel to filling equipment |
| Potassium metabisulphite solution | For bottle sanitisation |
| Bottle brush | For cleaning stubborn residue |
| Labels | If labelling now — allow wine to settle for 24h first |
| Foil capsules | Optional but professional |
| Floor corker or bench corker | Bench corker is worth the £25 investment |
Step 1: Bottle Preparation
Cleaning
New bottles: rinse with hot water. Reclaimed bottles: scrub inside with a bottle brush + hot water + small amount of unscented washing-up liquid. Rinse thoroughly — any soap residue taints the wine.
Sanitising
Fill each bottle with KMS solution (2g KMS + 2g citric acid in 1 litre water). Swirl to coat all surfaces. Drain and allow to drip-dry over a bottle tree or rack. Do not rinse with plain water.
Tip: A bottle rinser (a small nozzle that flushes the inside of a bottle from a reservoir of KMS solution) dramatically speeds this up for 20+ bottles.
Quantity check
750mL bottles per litre of wine: 1.33 per litre. For 20 litres: approximately 26–27 bottles. Allow 5% extra for wastage, sediment, and topping up.
Step 2: Transfer to Bottling Vessel
If the wine is still in a large vessel (carboy, tank), siphon into a smaller bottling bucket or vessel positioned higher than your bottles. If you're bottling directly from the vessel, you're ready.
Add your final SO₂ dose now if not already done.
Step 3: Fill the Bottles
Using a bottling wand
A bottling wand is a rigid tube with a spring-loaded valve at the bottom. Insert into the bottle, press down — wine flows. Lift — wine stops. The spring-loaded tip means you fill from the bottom (less oxygen exposure) and stop precisely.
Fill each bottle to the bottom of the neck (about 5cm from the top). The cork will displace some wine upward, leaving the correct headspace.
Fill slowly and smoothly. Splashing introduces oxygen.
If using an auto-siphon
Position the siphon end at the bottom of the bottle. Let it fill. Watch the level — pull out as it reaches the correct height.
Step 4: Cork or Cap
Corking
- Place the cork in the corker's chamber
- Position the corker jaw on the bottle lip
- Press the lever firmly and smoothly — the cork compresses and inserts
- The cork should be flush with or just below the bottle rim
Cork immediately after filling each bottle — don't let filled open bottles sit.
Cork moisture: Natural corks should be kept slightly moist (store in a sealed bag with minimal moisture) to maintain flexibility. Overly dry corks can crumble or insert poorly.
Screw caps
Fit the cap over the neck and apply with a hand capper or electric wine screw cap machine. Screw caps seal more consistently than corks and eliminate cork taint (TCA), making them particularly good for wines intended to be drunk within 1–3 years.
Step 5: Label
Wait 24–48 hours before labelling — the slight sweating of the bottle surface makes labels not adhere cleanly immediately after filling.
Apply labels when the bottle surface is dry and at ambient temperature. Self-adhesive labels are simplest. For front labels, use a level or template to ensure consistent positioning.
Label must include (for UK/EU commercial wine):
- Wine description
- Volume (e.g. 750 mL)
- ABV (e.g. 12.5% vol)
- Lot number (e.g. L2025-ELD-001)
- Producer name and address
- Country of origin
- "Contains sulphites" if SO₂ > 10 mg/L
- Allergens (egg, milk, fish) from fining agents
For home consumption: a simple handwritten label with date and batch name is sufficient.
Step 6: Storage
Store bottles:
- Horizontal (if natural cork): keeps cork moist, prevents oxidation through a dried cork
- Upright (if screw cap): no need to lie horizontally
- Cool and dark: 12–15°C ideal; avoid temperature fluctuation
- Away from vibration and strong smells
Allow at least 2–4 weeks "bottle shock" recovery before opening — the process of bottling temporarily mutes aromatics and the wine benefits from settling.
Bottling Line Hygiene
The bottling line is the point at which many months of good winemaking is undone by a single contamination event:
- Sanitise everything that touches wine — bottle interiors, filler, siphon tube
- Work quickly once you start — don't leave uncorked bottles sitting
- Change bottles one at a time — don't pre-fill a row and then cork them all later
- If anything falls on the floor, sanitise it again before using
Tip: Log the bottling date, final gravity, SO₂ level, and number of bottles in MakeWine. When a tasting note goes into the system 12 months later alongside those exact numbers, you build an invaluable dataset for improving your process.